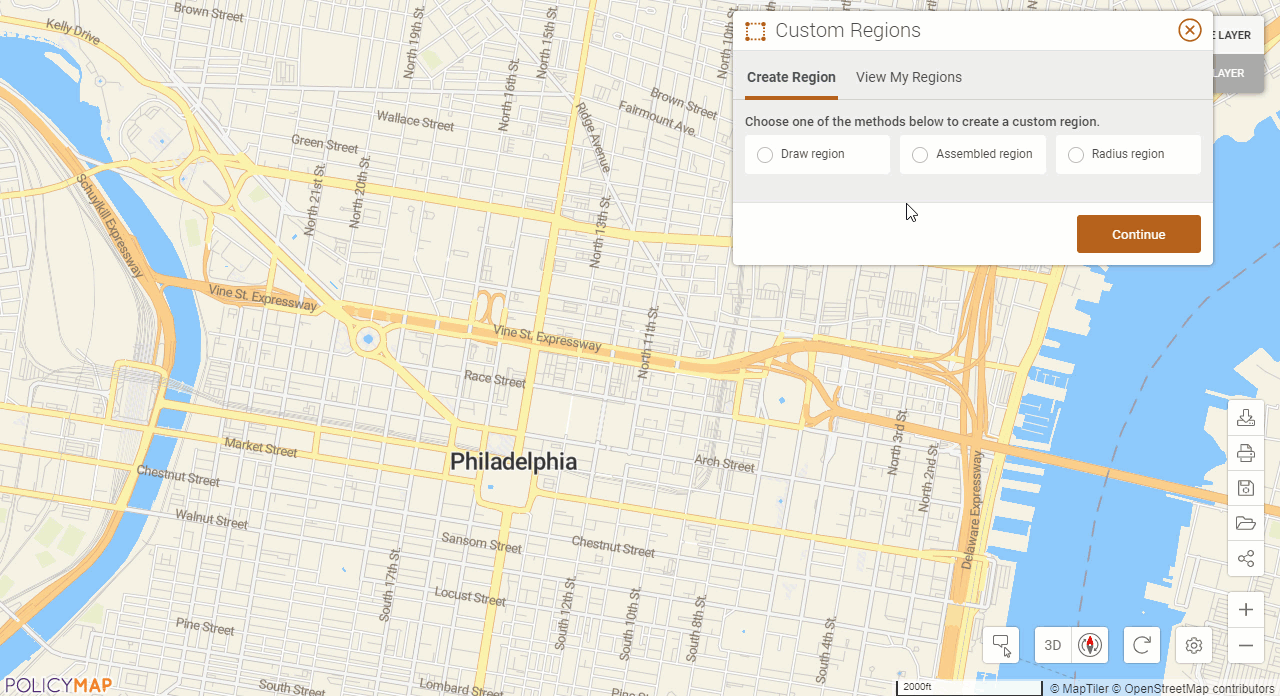
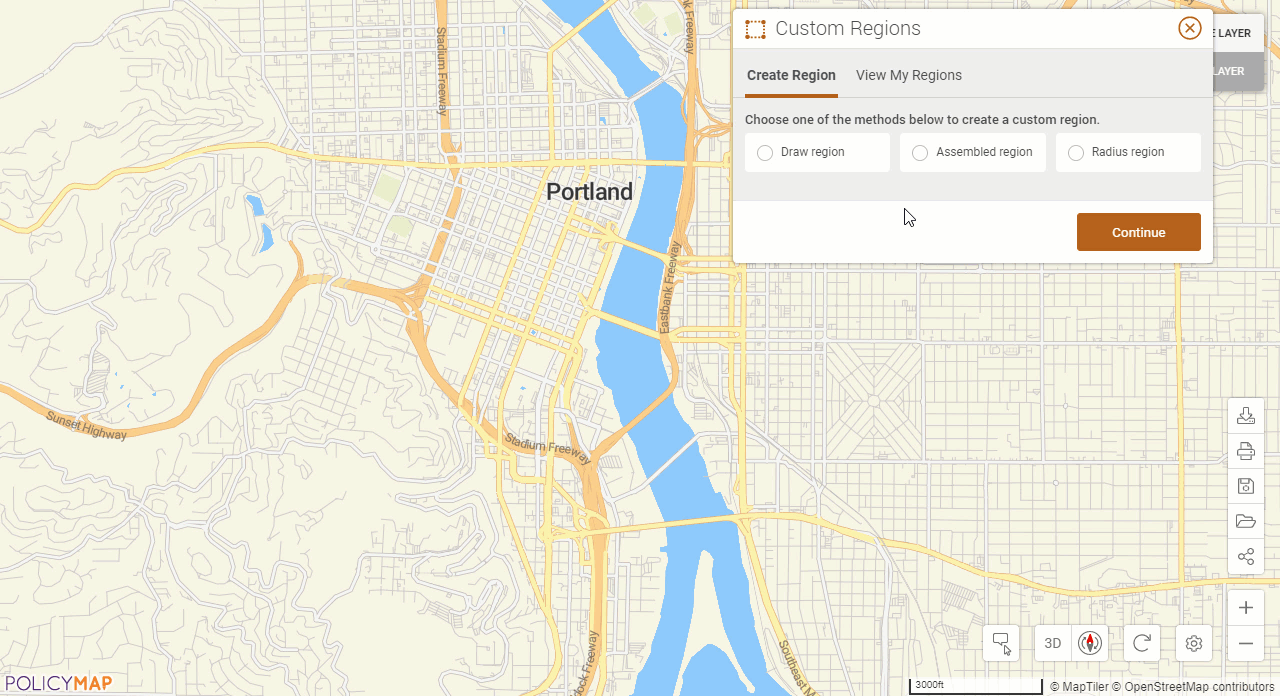
Drawn Custom Region
![]() Updated
by
PolicyMap
Updated
by
PolicyMap
The Drawn Custom Region allows you to freely draw a boundary on top of the map. There are two ways to draw a custom region; click to connect points and draw with pencil.
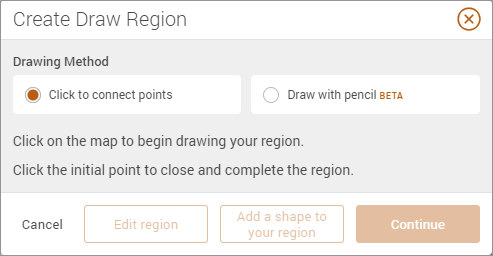
- Click to connect points allows users to click to create each vertex of the custom region.
To begin drawing the boundaries of your desired region, click once on the map to create the corners of your custom region. The orange line shows the boundary as you draw it, and the shading shows the area the custom region covers. You can pan around the map by holding down the left mouse button while building a custom region or zoom in and out using the zoom bar on the left of the map (or scroll wheel on your mouse). Close the custom region by clicking on the first point again.
- Draw with pencil allows users to click and hold their left mouse button to drag the boundaries along a pathway.
Click and hold the left mouse button down, drag the line of the custom region along the desired path. Drag the mouse to the first point or release the left mouse button to complete the drawn custom region.
All saved custom regions will be available in the View My Regions menu.