Assembled Custom Region
![]() Updated
by
PolicyMap
Updated
by
PolicyMap
Assembled regions gives you the ability to select and group geographies (e.g. census tracts, or zip codes) to create a custom region.
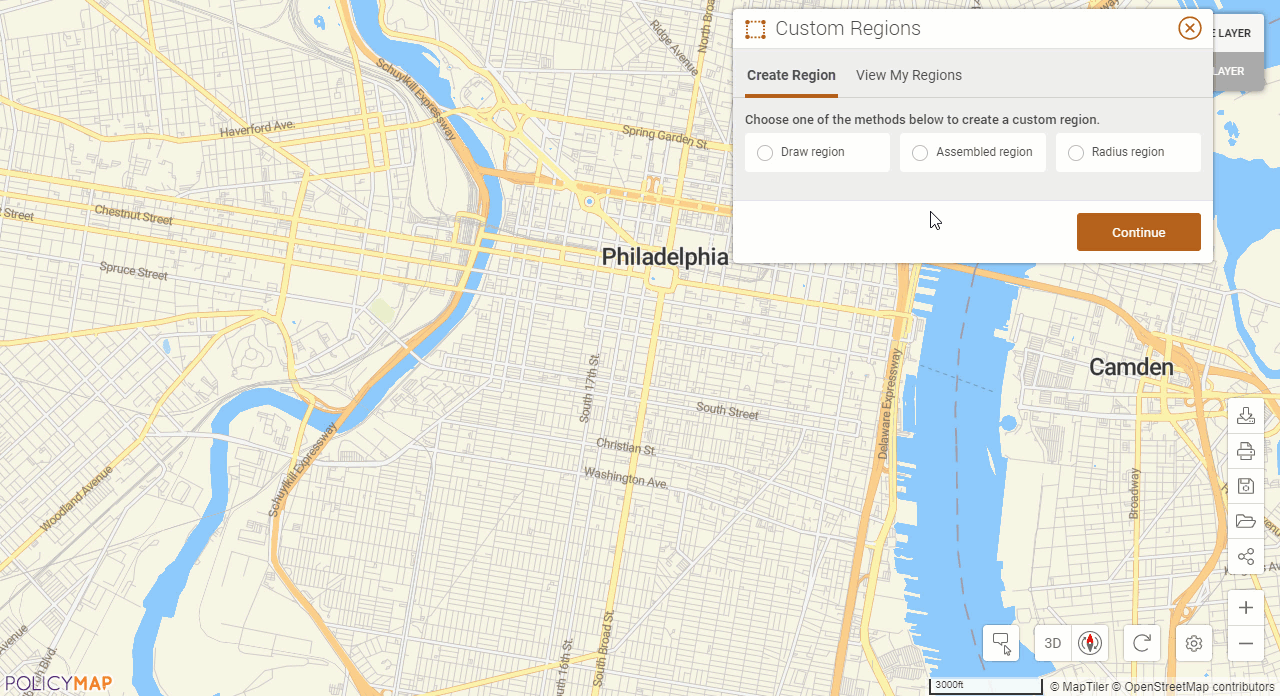
After choosing Assembled Regions, select Continue (read the instructions for details) to start assembling the custom region. The map will initially display boundaries for your current zoom level. You can change the boundary by choosing from the drop-down menu in the Create Assembled Region window. To start, click within a boundary on the map and the area will highlight. You will see the name of the highlighted boundary in the window; continue to select other areas to assemble your custom region. To deselect an area you've already highlighted, click it again. Assembled custom regions can be non-contiguous.
You can clear your current custom region and start over by selecting Clear All.
Once you have selected the areas for your assembled custom region, select Continue in the window, give your custom region a name, and select Save Custom Region. All saved custom regions will be available in the View My Regions menu.